Sometimes you might find that the blue sky in your photos is flat and grayish. Here's how you can improve your sky in Photoshop without even having to make any dreaded selections. For this tutorial I'll use this photo of mine of a bull in which the sky is rather dull. Before you can use this technique, however, you will first need to find a photo in your collection in which the sky is a nice blue. You can crop the sky out of the pictue and save the cropped blue sky with a name something like "blue sky". Or if you don't have anything suitable in your own collection, you can download my blue sky
here.
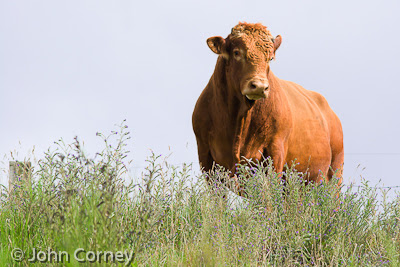 |
| In this photo the sky is flat and grayish. |
Now open the photo that you want to improve the sky in, such as my photo above with the bull. Also open the photo of the blue sky you have saved and add it as a new layer on top of your photo. One way to do this is to type ctrl+a to select all of the blue sky image, and then go to the picture you wish to improve and paste the blue sky as a layer by typing ctrl+v. Here's how it should look after you paste the blue sky into the layer stack.
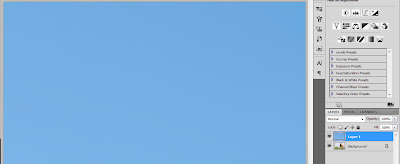 |
Your image now looks completely blue with the bull on the
lower layer obscured by the blue sky. |
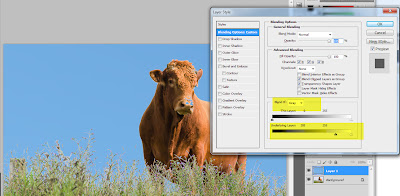
Next, double-click the little image icon in the layer stack for the top layer (the blue sky layer which is called "Layer 1"). The Layer Style dialog will open up.
With "Blend If" set to Gray, slide the black triangle on the left for the "Underlying Layer" to the right until the blue fills only the area of the sky and none, or almost none, of the subject of the image. Above you can see I have moved the left slider over to the right to the point where its value reads 205. Some blue is still showing through on the bull's nose, and a little bit by the ear on the right. We'll take care of that next.
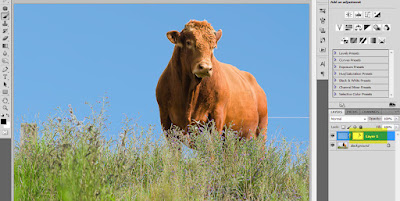 |
| Touch up your final image by using a layer mask to hide any pieces of blue sky that show through the subject. |
To remove the traces of blue still showing through on the bull, add a layer mask to the blue sky layer and paint with black on the mask to hide any traces of the blue sky that is still showing through. You're done and now you have an image with improved blue sky thanks to Photoshop! Thank you, Photoshop!


Comments